Getting Started with Unity — Your First Game Project
Learn how to set up Unity, understand the editor interface, and build your first playable game from scratch in just four weeks.


Why Unity Matters for Game Developers
Unity’s the industry standard for game development—it powers everything from indie mobile games to AAA console titles. The good news? You don’t need years of experience to start. What you’ll get from this guide is a clear path into the engine, straight to building something playable.
We’re going to walk through the fundamentals. You’ll understand the editor interface, learn how scenes and GameObjects work, write your first C# script, and ship a simple but complete game in four weeks. Not a tutorial project that sits on your hard drive—something you can actually show people.
Four Weeks to Your First Game
A structured roadmap that breaks down the learning process into manageable chunks.
Installation & Editor Basics (Week 1)
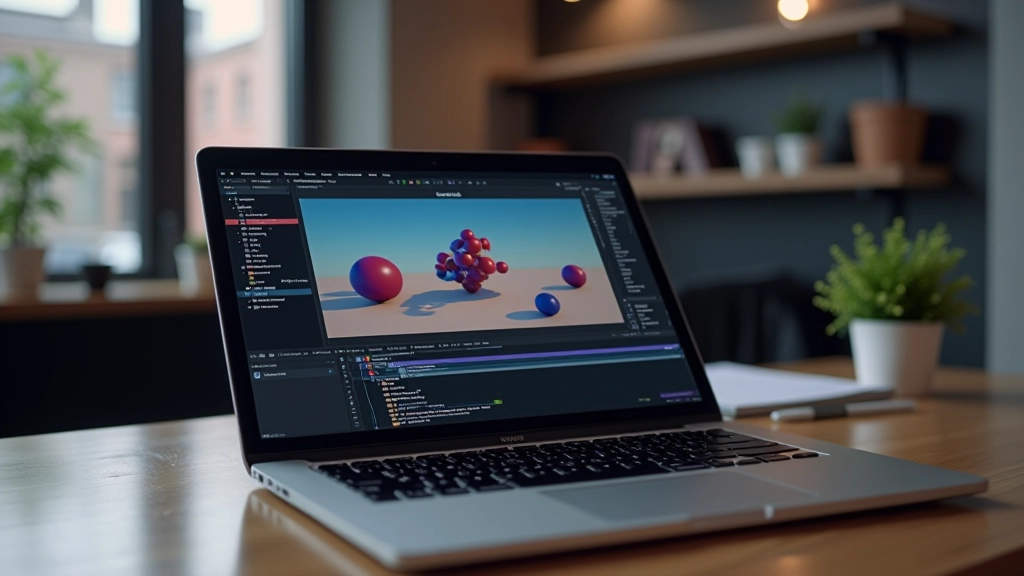
Start by downloading Unity Hub and the latest LTS (Long-Term Support) version. We recommend version 2022 LTS—it’s stable, widely used in the industry, and you won’t chase breaking changes. Spend the first few days clicking around the editor. Create an empty scene, add a cube, rotate it, scale it. Get comfortable. The Scene view is where you build visually. The Hierarchy shows your GameObjects. The Inspector lets you tweak everything. You’ll spend more time in these three panels than anywhere else.
C# Scripting Fundamentals (Week 2)
You can’t build anything interactive without code. C# is the language—it’s clean, readable, and powerful. Don’t worry if you’ve never programmed before. Start with the basics: variables, if statements, loops. Then write your first MonoBehaviour script. That’s just a class that Unity attaches to GameObjects. You’ll write a simple script that makes an object move when you press arrow keys. Ten lines of code. That’s your first gameplay mechanic. It feels small, but it’s the foundation for everything that comes next.
Building Your First Game (Week 3)
Now you’ll assemble what you’ve learned into an actual game. Something simple works best—a 2D platformer where you jump over obstacles, or a space shooter where you dodge asteroids. You’ll use physics, colliders, and triggers. You’ll spawn enemies. You’ll add score tracking. It won’t be polished, and that’s fine. The goal is to finish something complete with a start screen, gameplay loop, and game over state. You’ll be amazed at how much you can build in two weeks once you understand the fundamentals.
Polish & Publishing (Week 4)
Week four is about finishing. Add sound effects and simple visual feedback—particles when you hit something, screen shake when you jump. Optimize your game so it runs smoothly. Then publish it. You can build for Windows, Mac, or WebGL to share in a browser. Getting that executable file or web link working feels incredible. You’ve gone from zero to shipped game in 28 days.

What You’ll Actually Need
You don’t need expensive gear. Most of what you need is free or included.
Unity Editor
Free for personal and educational use. You’ll download it via Unity Hub, which manages your installations and projects.
Code Editor
Visual Studio Code or Visual Studio Community. Both are free. VS Code is lighter and faster for most people.
Computer Specs
Unity runs on modest hardware. An Intel i5 or equivalent with 8GB RAM and an SSD is comfortable. GPU doesn’t matter much for development, but it helps for testing your games.
Documentation
The official Unity Manual and API reference. Bookmark these. You’ll reference them constantly.
Key Practices That Stick With You
Small habits now make you a better developer down the road.
Organize From Day One
Create folders in your Assets directory. Scripts in one folder, Prefabs in another, Scenes in another. Sounds simple but it saves hours later. A project with 200 assets scattered everywhere is a nightmare. A project with everything organized is a joy to work in.
Name Things Clearly
Don’t call your objects “Cube” or “Script1”. Call them “PlayerCharacter”, “EnemySpawner”, “UIManager”. Future you will thank present you. Clear naming is 30% of good code.
Save Frequently
Unity autosaves, but hit Ctrl+S every few minutes anyway. It’s a reflex. When something crashes—and it will—you’ll be glad you saved five minutes ago instead of 30.
Play Test Constantly
Hit Play in the editor and try everything. Walk through walls? Jump infinitely? Don’t wait until the end to discover bugs. Catch them as you go. It’s faster and way less frustrating.
Keep a Learning Log
Write down what you learn each day. Not essays—just notes. “Prefabs save time by creating reusable templates.” “Coroutines let you spread actions over multiple frames.” You’ll forget things. Your log won’t.
Join a Community
Reddit’s r/Unity3D, Discord servers, and local meetups. You’ll get unstuck faster. You’ll see how other people solve problems. You’ll make friends who get it.
Where to Find Help When You’re Stuck
Every developer gets stuck. The difference is knowing where to look.
Official Unity Learn
Free courses on the Unity website. Beginner Pathway is solid—it covers everything in the first two weeks of our roadmap.
Brackeys (YouTube)
Archived channel with thousands of tutorials. The fundamentals haven’t changed. His beginner series is still the clearest introduction to game development.
Unity Forums
Post your question. You’ll usually get an answer within hours. Be specific about your problem and what you’ve already tried.
Stack Overflow
Search first—your question’s probably been asked. If not, post with code examples and error messages. The community’s strict but fair.

You’ve Got Everything You Need
Four weeks isn’t a lot of time. But it’s enough to understand the fundamentals, build something real, and know whether game development is for you. You’ll have a playable game you made yourself. You’ll understand how scenes, GameObjects, and scripts fit together. You’ll have encountered bugs and solved them. That’s the foundation.
The journey from here gets deeper. You’ll learn about optimization, advanced physics, networked multiplayer, art pipelines. But all of that builds on what you’ll learn in these first four weeks. Don’t skip the basics. They matter. The developers shipping AAA games today started exactly where you are—opening Unity for the first time, staring at a blank scene, and wondering what comes next.
You’ve got this. Start small. Build consistently. Finish something. That’s the path.
Educational Note
This guide is educational material intended to introduce fundamental concepts of game development with Unity. Individual learning timelines vary based on prior programming experience and available study time. The four-week roadmap is aspirational and should be adapted to your own pace. Always refer to the official Unity documentation and community resources for the most current information about features and best practices.